
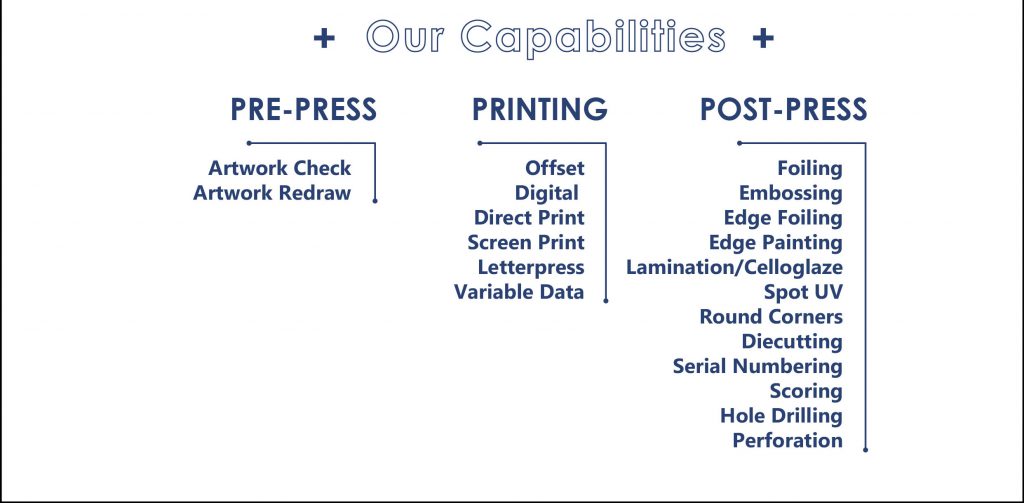
To make your cards fancy, we use different printing techniques and post-press finishes to deliver desired results. Below are brief explanations of each process/technique that’s been offered on the website, however, we can do much more than these behind the scene. If you have special requests or gimmicky ideas, we’d like to hear from you and see if we can bring your ideas to life!
OFFSET
Offset lithography is one of the most common ways of creating full-colour printed materials. Compared to other printing methods, offset printing is the cheapest method for producing high quality prints in commercial printing quantities.
We have access to both UV and non-UV presses, up to 6 colours and a maximum print area of 101x71cm. The smallest plate size we can take is A3, and offset presses can take up to 1mm thickness of the paper substrates. With the capability of 6-colour inking system, this allows us to print CMYK + 2 PMS per side.
DIGITAL
The greatest advantage that digital printing offers is there is no need to make a plate. Therefore, this enables on-demand printing, shorter turnaround time, as well as variable data processing. However the downside to digital printing is that it’s restricted to approximately 300gsm stock, and the paper substrates are limited as well. Most digital presses these days can only do A3 size prints, however with our fleet of presses we can print up to 74x51cm.
DIRECT PRINT
We use Direct Print as the printing method for all the stocks in the Specialty Cards category (white and cream colored stocks).
It is essentially printing using a UV flatbed machine.
There are some important facts about this type of printing you’ll need to know.
- We can print up to the size of 235cm x 125cm via Direct Print, and can handle up to 10cm thick substrates.
- Direct printing is flexible and very cost effective for printing small quantities.
- Variable data printing (individual names, positions, numbers, places etc.) is also achievable with direct print.
- As UV curable inks are used in this method, scuffing and set-off marks are very minimal if at all.
- Paper stocks with rough or extreme textured surface will also print fine.
There is a slight downside to this method – small texts are not recommended as the printing output is not as sharp as offset or digital. Best to use Direct Print on background artwork just to “set the scene”. If small texts are used, best to keep it at least 8pt or above.
SCREEN PRINT
Screen print is a printing technique whereby a mesh is used to transfer ink onto the paper stock. It is used to transfer ink onto thicker card stocks where the stock is not suitable for the digital and offset printing presses or a specific colour (Pantone) is required.
The ink is specifically mixed by referring to the Pantone colour chart and the cost is charged by the number of colours required.
We strongly recommend this method when it comes to printing WHITE. As the white ink used in offset or digital printing is not opaque enough, we would normally suggest the use of white foil or white screen print to achieve better results.
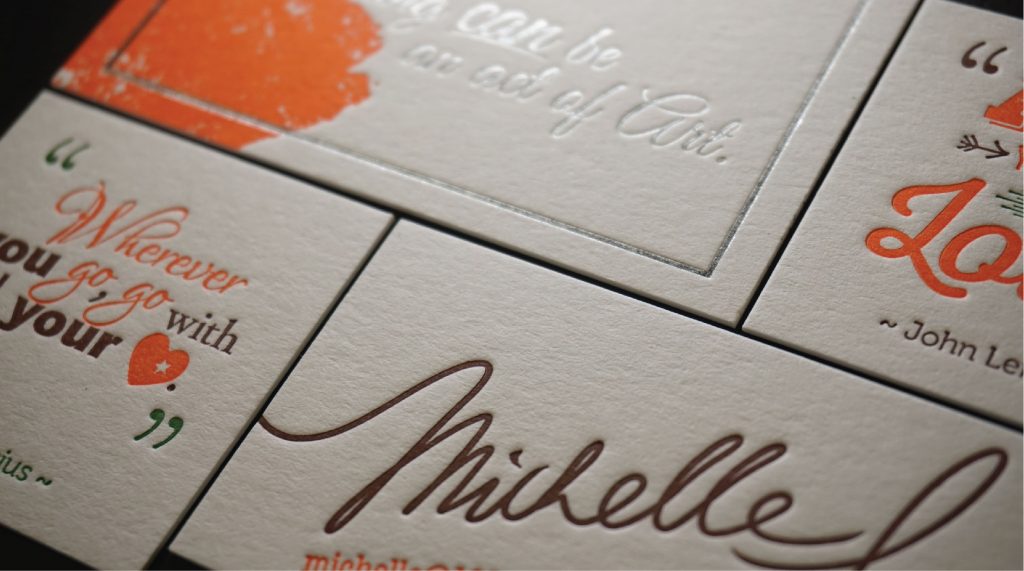
LETTERPRESS
Letterpress printing has had its prime time and history since mid-15th century until computerised printing processes were developed. In recent years, there seems to be a revival of this crafty printing technique around the world, particularly in the premium categories of cards and invitations.
This 15th Century printing technique, when combined with beautiful calligraphy, can deliver classic and vintage style impressions. A truly timeless artisan’s work.
As opposed to offset and digital printing where millions of colours can be made out of CMYK, letterpress works on a “per colour” basis. The more colours are involved, the higher cost it becomes. We can mix the ink and print any colour from the Pantone book, except the metallic and neon colours where we have to buy from the manufacturer. Therefore metallic and neon colours are NOT covered within our standard pricing for letterpress.
It is important to note that as the inks for letterpress are hand mixed every time for the run, colour variance would occur between each run. Also, there could be approximately 5% colour variance in each production due to the fact that when inks are running low, the colour would start to fade a little. If you have specific requirements about colours, please contact us before placing your order.
Our current capability is to print up to an A5 size sheet. Suitable stock for letterpress is limited, and we have only chosen a few stocks ranging from 300gsm to 600gsm.
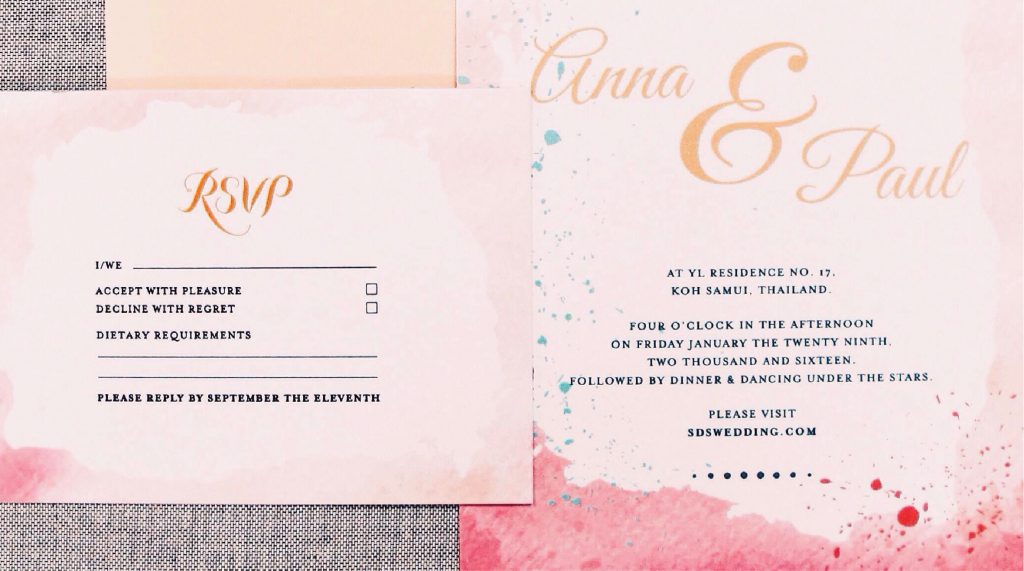
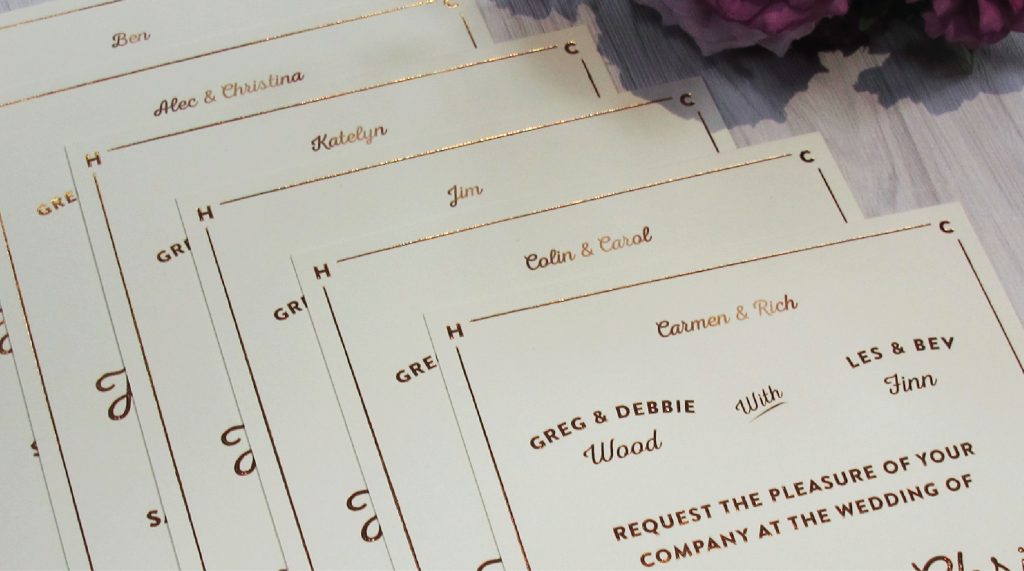
VARIABLE DATA
Variable Data Printing (VDP) allows one to produce personalised products, as each printed material can have different texts or artwork, such as different guest names or different ID photos. Not all paper stocks in our range can have VDP, it all depends on the specific requirements and the production process involved for us to determine whether VDP is achievable and if so, how much. If you have such needs, please contact us and make enquiry first before placing an order.
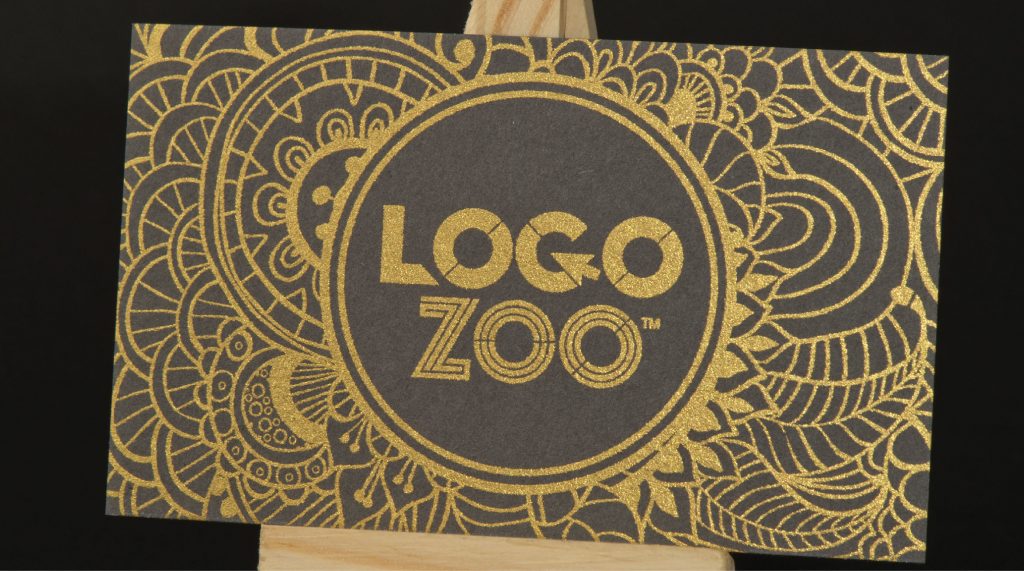
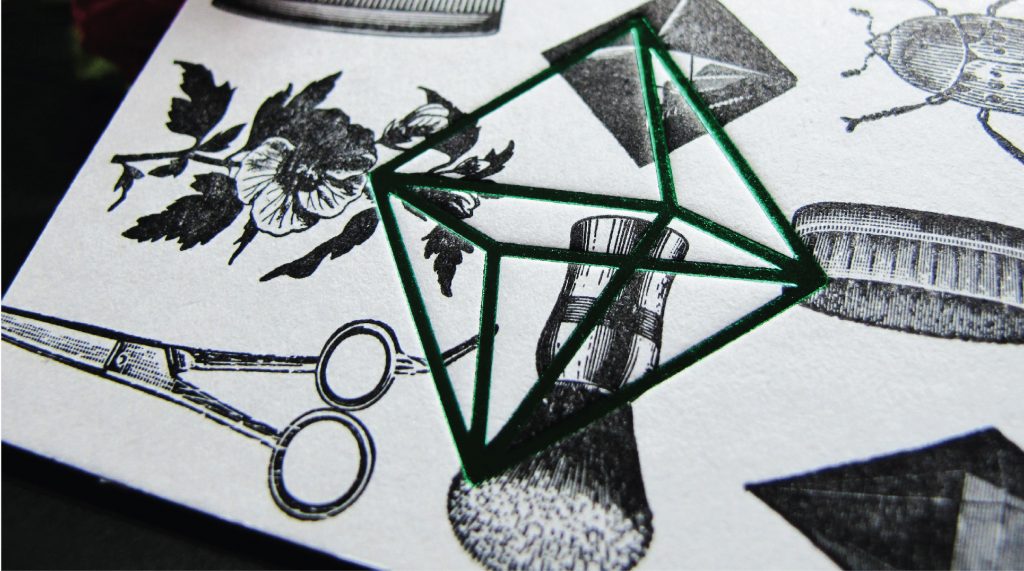
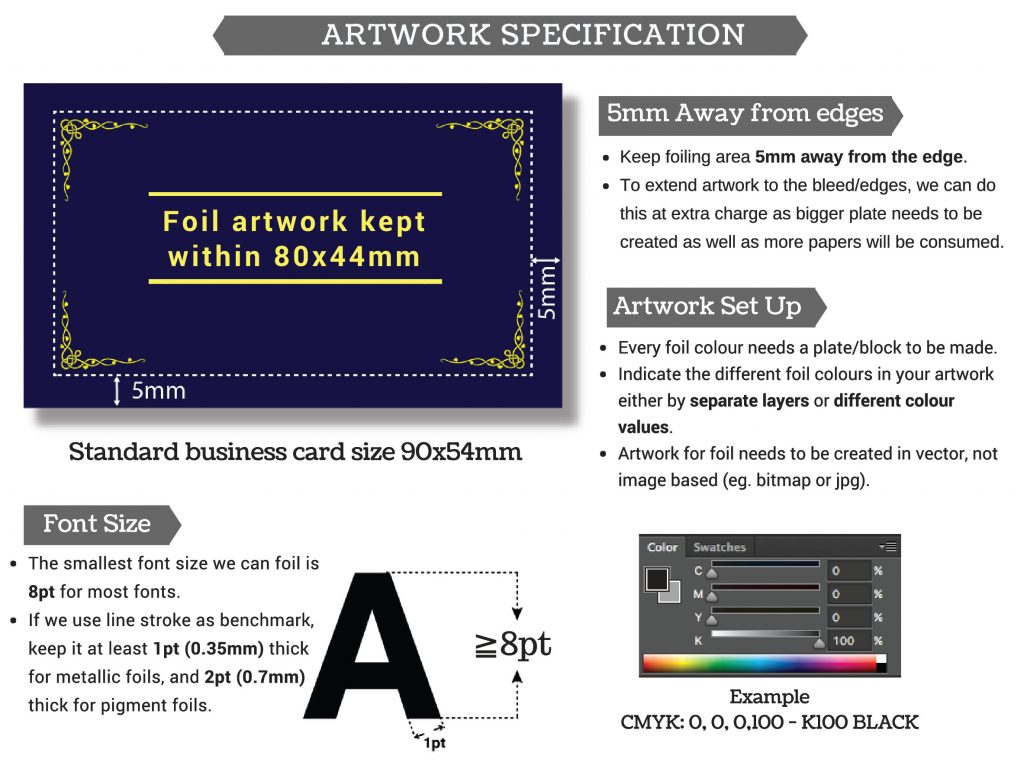
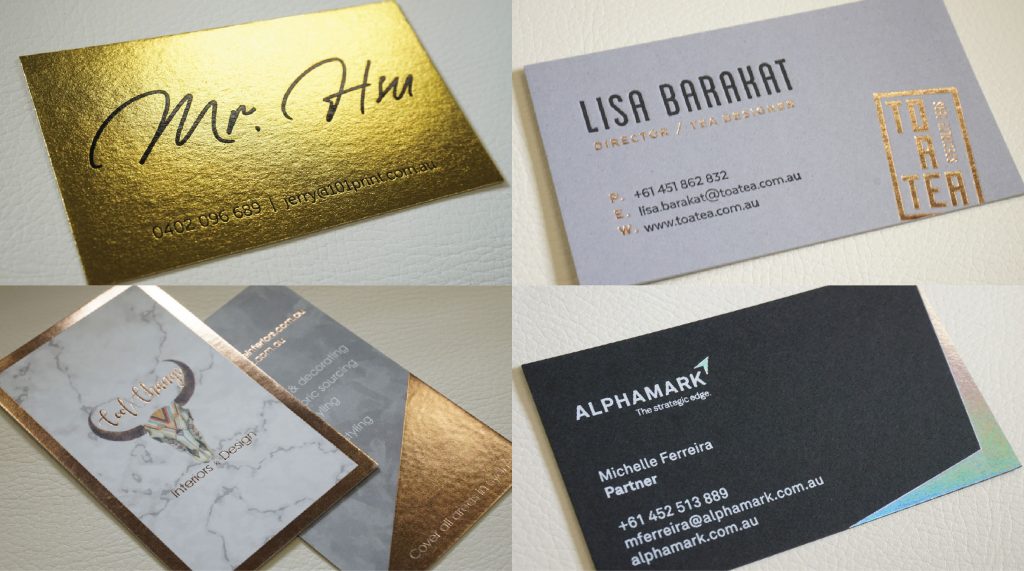
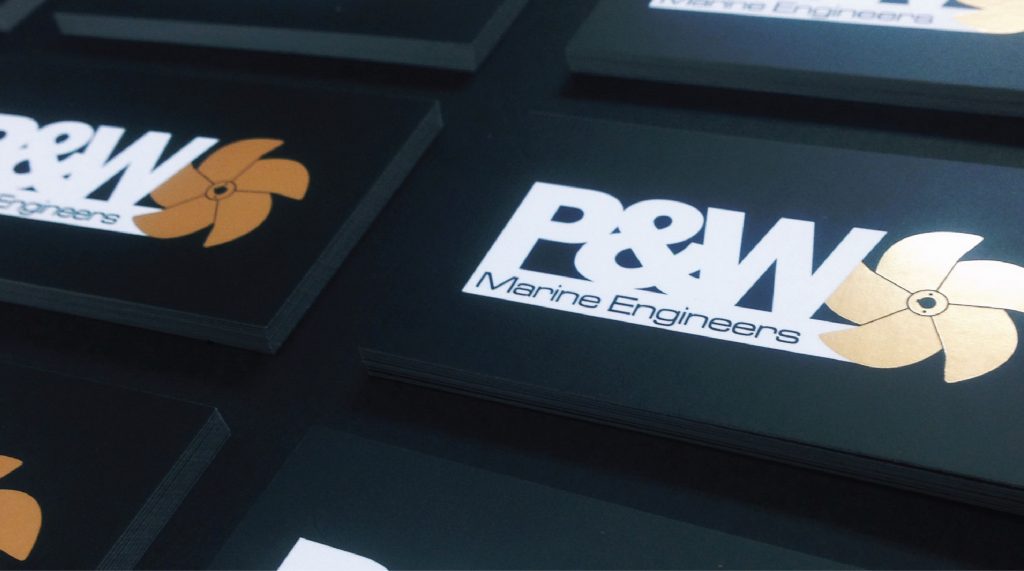
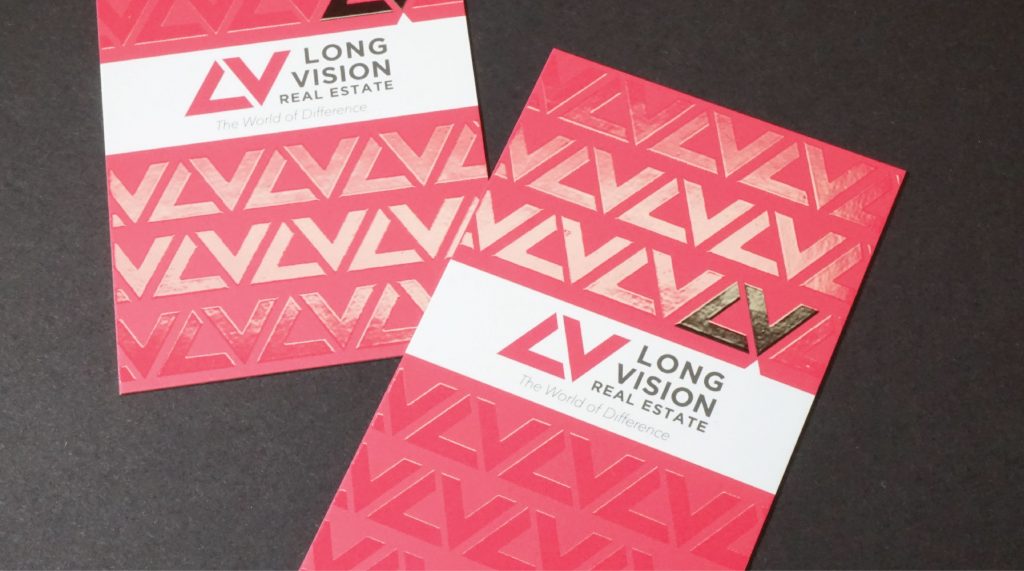
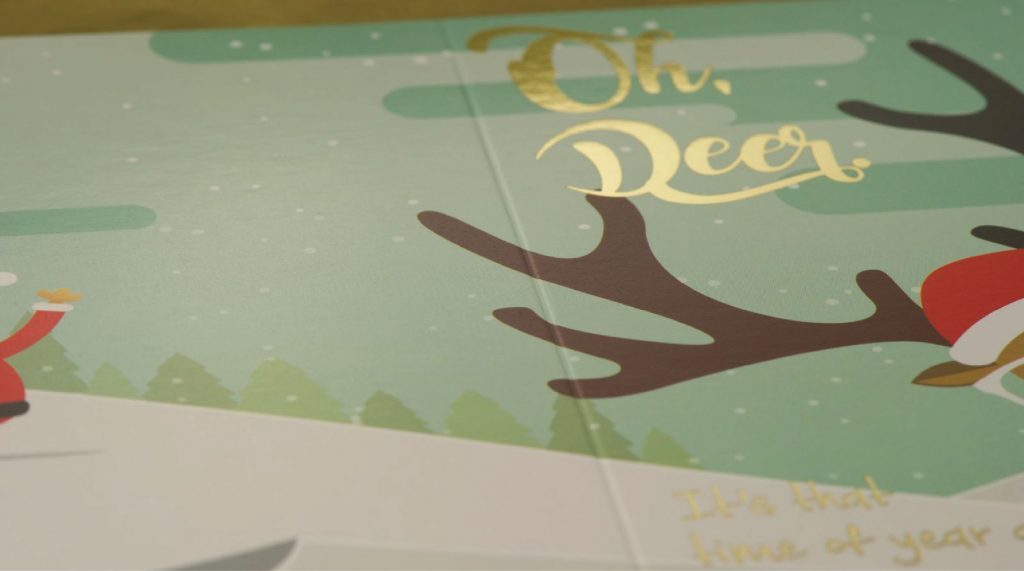
FOILING
Hot Stamp Foiling is a post-press process where a heated die transfers metallic or pigmented foil onto a solid surface of various substrates. We currently offer 20 foil colours to choose from, and this list will continue to expand. Each foil colour requires a plate/block to be made. Once we made a block, we will keep it for customer up to 12 months unless communicated otherwise. Therefore, you can save the cost of making another block if you place a repeat order with us within 12 months. You can choose “existing block” in the cost calculator, this will remove the cost of making a block for your repeat order.
As much as we love the bling bling foiling, there are a few restrictions and specifications that we need to abide by.
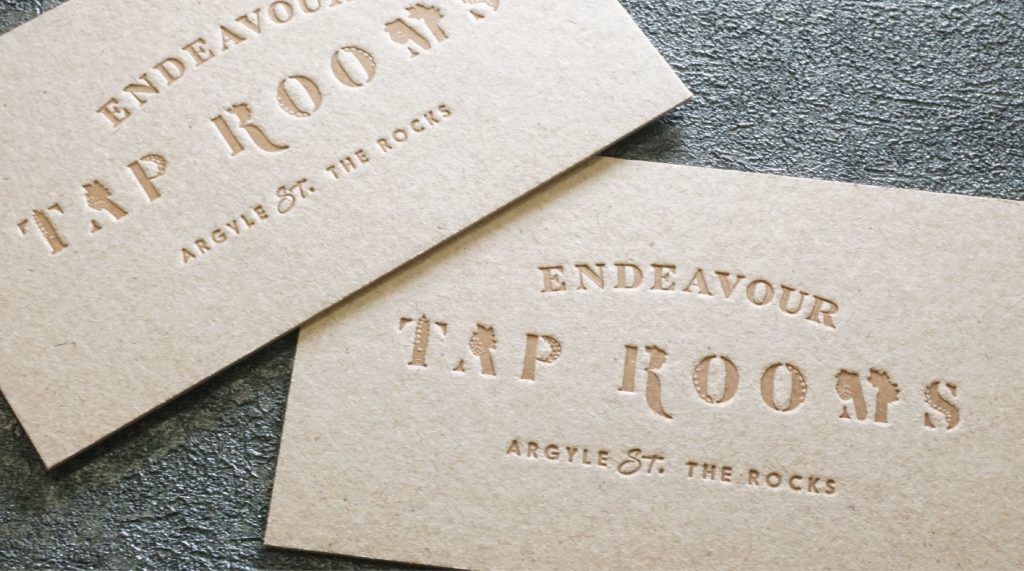
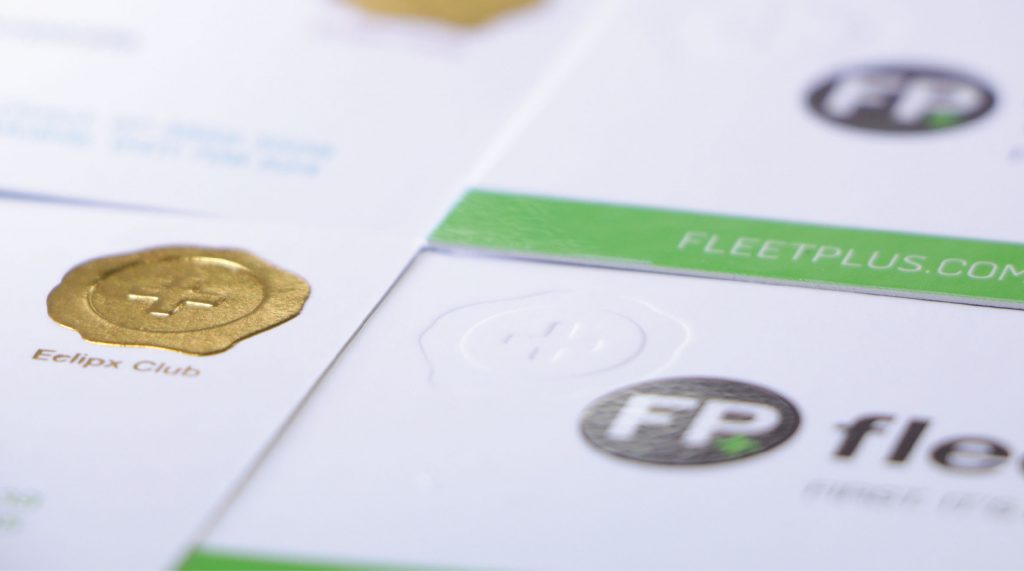
EMBOSSING
Emboss is a technique where a block makes an embossed impression on one side, and debossed impression on the other side, through the use of pressure. It doesn’t give colour, so if you need to make certain part of the artwork “raised”, the block will be mapped exactly onto that printed artwork and then we stamp it from the other side to make it raised. This process is called “registered embossing” and is more costly than blind embossing due to more time taken.
“Blind embossing” is a process that does not require matching of a block to a printed artwork, which can be done quicker in time and easier than registered embossing.
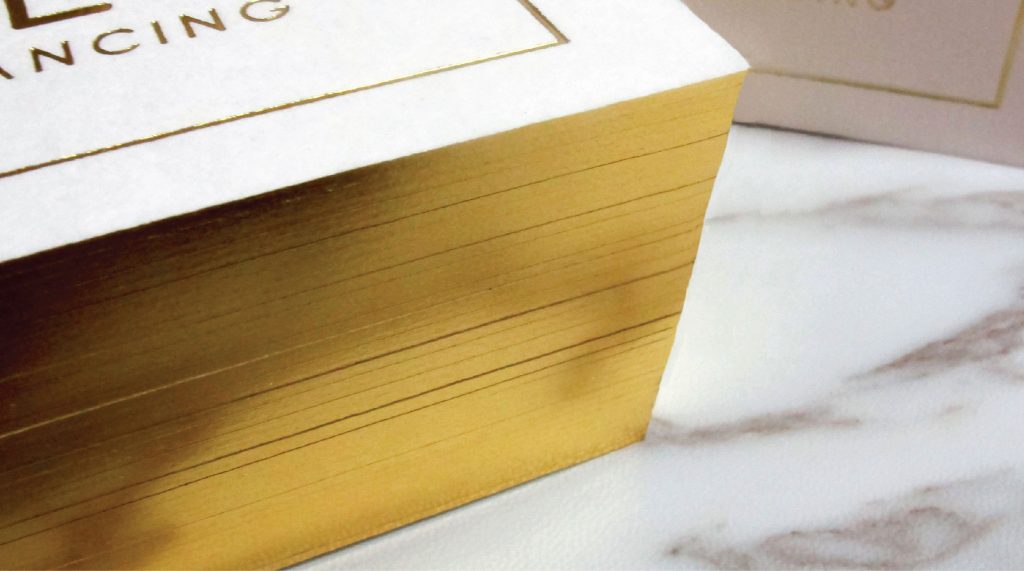
EDGE FOILING
Edge foil is a process whereby we apply the foil (gold or silver) to the edges of the card. This process produces a beautiful metallic shine around the edges of the card to give that extra luxurious and elegance feel to the card design.
At the moment, edge foiling can only be applied to square edges on all 4 sides.
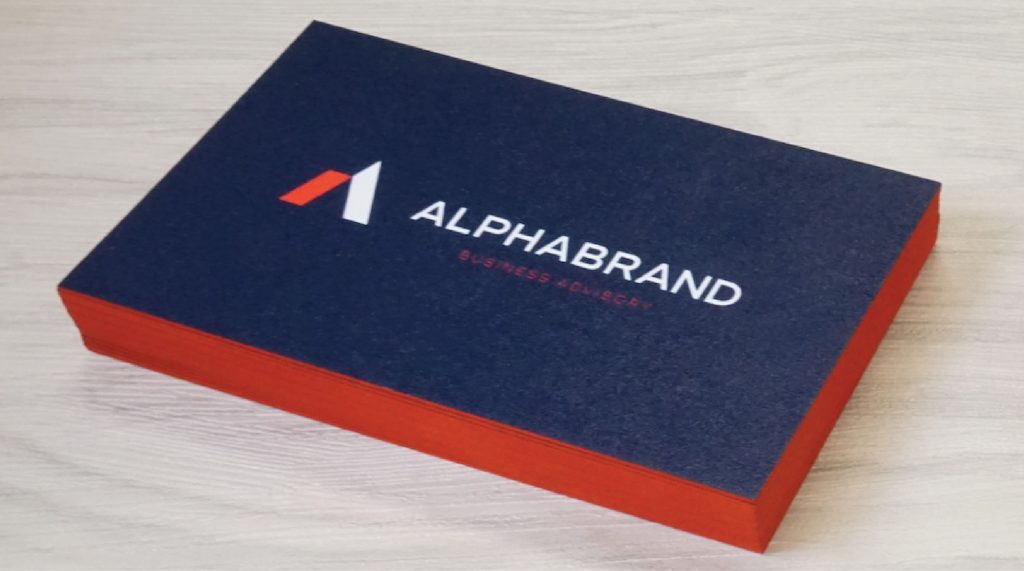
EDGE PAINTING
Edge painting is a process by which colour ink is applied to the edges of card stock. There is a wide range of colours for selection in our ink library (including metallic) and we can specifically mix the ink for application against the Pantone Colour Chart. Please note that due to different paper stocks and the manual ink mixing process, slight variation of colour can occur throughout the same production batch.
At the moment, edge painting can only be applied to square edges on all 4 sides.
LAMINATION/CELLOGLAZE
Applying lamination or celloglazing film onto the paper stock improves the strength, stability, and appearance of the paper stock. A laminate/ cellogalze film is applied by utilising heat and pressure to permanently adhere to the paper stock.
We currently offer 3 types of lamination:
- Gloss lamination: shiny appearance and scratch resistant.
- Matt lamination: matte appearance but is prone to nail scratch marks.
- Soft touch lamination: matte appearance and velvet feel, it is also scratch resistant.
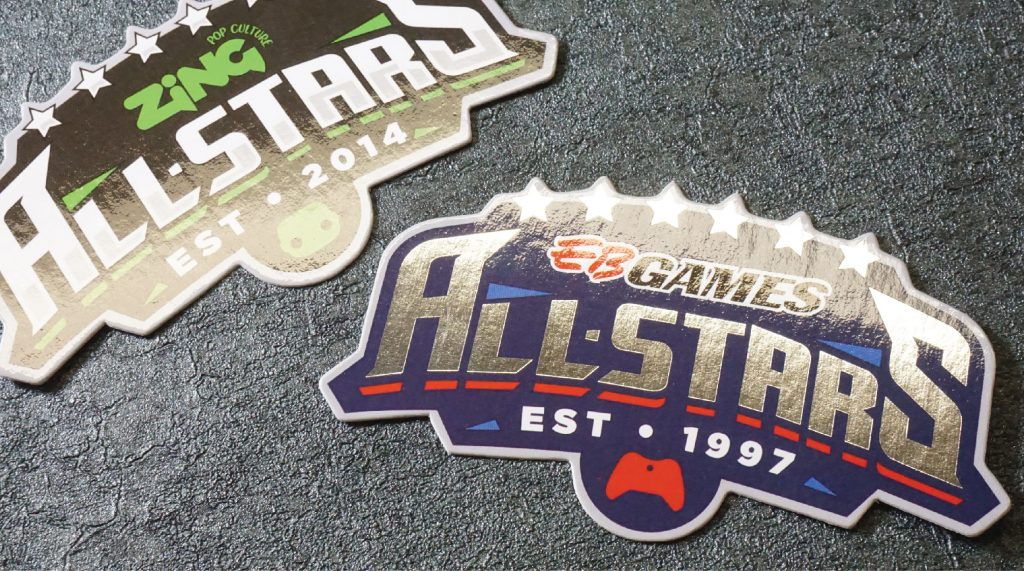
SPOT UV
Spot UV is a coating technique for printed materials, whereby a coating or “varnish” is applied to specific areas, of a printed card.
Spot UV itself has no colour, but it highlights and enhances particular parts of a design, and provides the additional visual attraction of having a slightly raised feel and shiny appearance on the card stock.
Please note that Spot UV varnish is considered as a post-press finish, therefore it may shift slightly (+/- 1mm) when applied to printed material. We recommend not to apply Spot UV to very intricate details of an artwork, as registration could be an issue.
There are several prerequisites before Spot UV can be applied:
- The minimum sheet size must be A3. If you wish to apply Spot UV to a business card, we will need to print on A3 sheets first then cut down to BC size.
- Spot UV is recommended to be applied to laminated surface. We can still apply Spot UV to unlaminated surface (such as specialty papers), but no guarantee that the end result will be sharp and even.
ROUND CORNERS
Our standard round corners have a radius of 5mm and 7mm. These are produced on our round corner cutter machine and the corners may not be as round/ perfect throughout all the cards.
If perfect corners or different radius is required, we will need to pursue the diecutting method where a die knife is made to ensure every card is diecut to the shape perfectly.
DIECUTTING
Diecutting is a process used to cut the paper stock into a specific shape by using a steel cutting die. Different substrates may require different grades of steel to do the job, for example, paper and plastic stocks will require different steel materials to make the knife. Technically speaking, diecutting is the only way to ensure that every card is the same size and shape as there will be no trimming variance involved. However, as diecutting is a post-press process, papers can move during the work which may result in up to +/- 2mm movement left and right or up and down.
When you select the option “diecutting” in our cost calculator, the size of the diecut is referring to the final shape and size, eg. an egg shape within A6 size, you need to choose “A6” size. However, the printed sheet will need to be larger than the diecut size by at least 5mm on all sides. This is because we need to allow extra 5mm on each side for the diecutting machine to work properly. So when choosing the printed sheet size, you will need to factor in this +5mm on all sides, which means it could take you from A6 to A5 as the printing size.
Another thing to note – not all shapes and cut-outs can be done by diecutting, it may require the next level of work namely “laser cutting”. Laser cutting is usually used in cutting out intricate details of an artwork. If you’re not sure whether your design can be covered by our standard pricing of diecutting, please enquire with us first before placing an order.

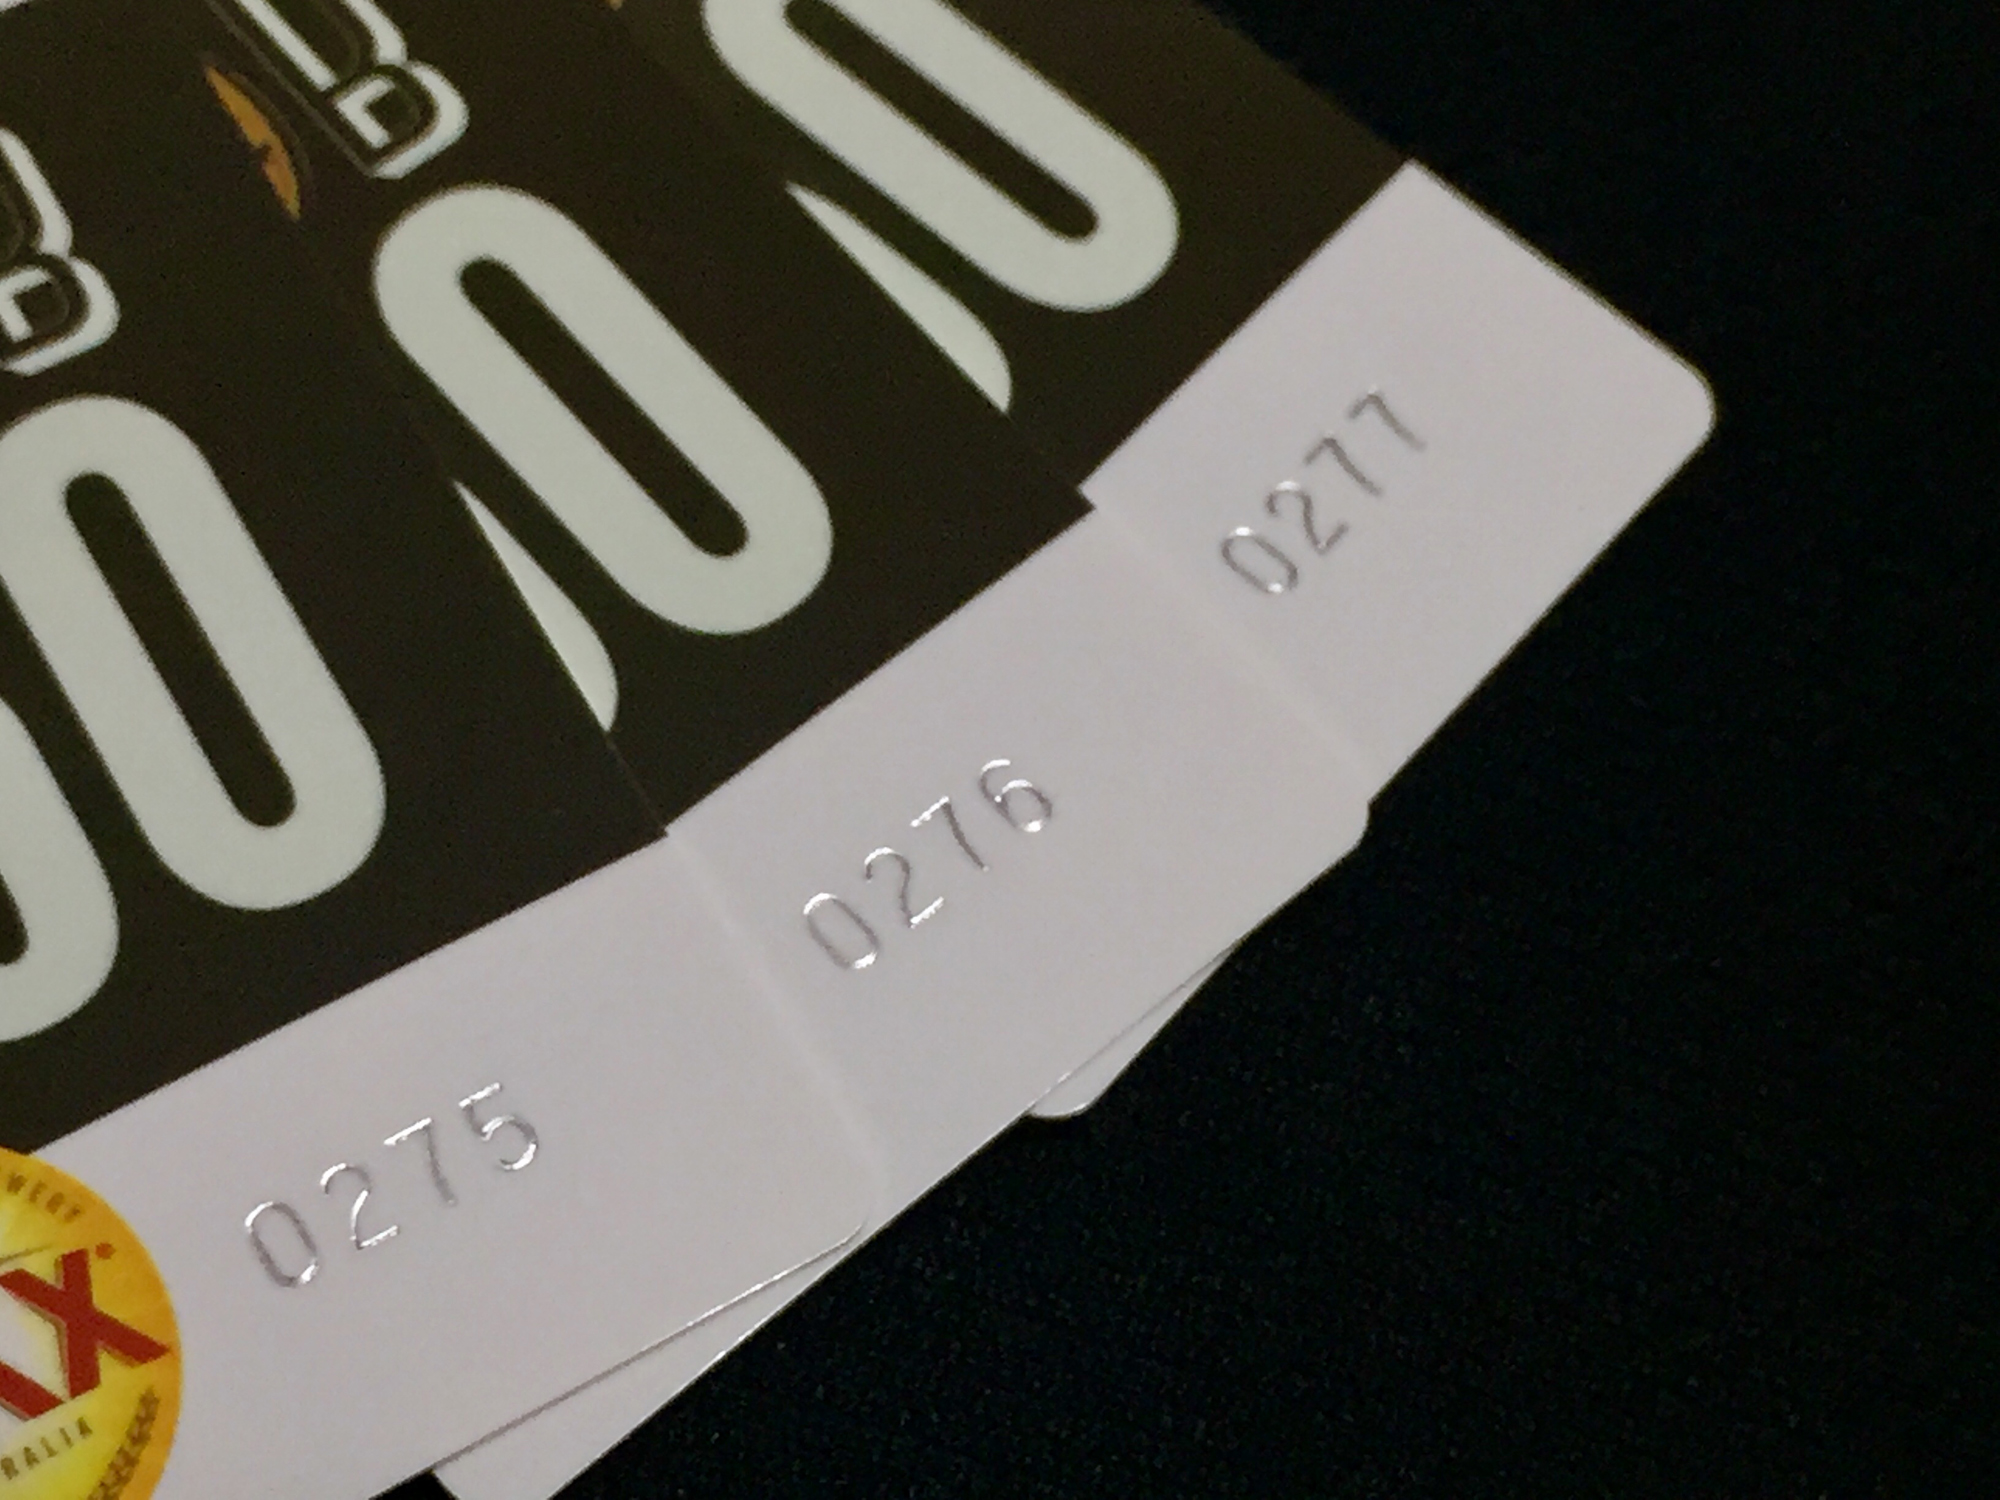
SERIAL NUMBERING
For our paper products, serial numbering is available in red or black only and there is certain fixed font and size to adhere to.
- Our serial numbering can be applied to laminated or unlaminated surfaces.
- Numbers can be set between 3 to 6 digits. If 6 digits, please allow approximately 20x5mm space for the 6 numbers.
- Numbering must be at least 10mm away from the edges.
- Our serial numbering can be applied to various sheet sizes from Business Card to A4.
- Maximum 2 sets of numbers per Business Card size sheet, and maximum 4 sets of numbers per A4 size sheet.
SCORING
Making a score or crease on the heavier paper stock makes it easier to fold and reduces cracking on the paper, as lighter weights of paper generally folds well without having the need for scoring.
Generally, all scored jobs are shipped flat and without folding as it would need to be folded by hand.
If you require manual folding, please ask us for a special quote.
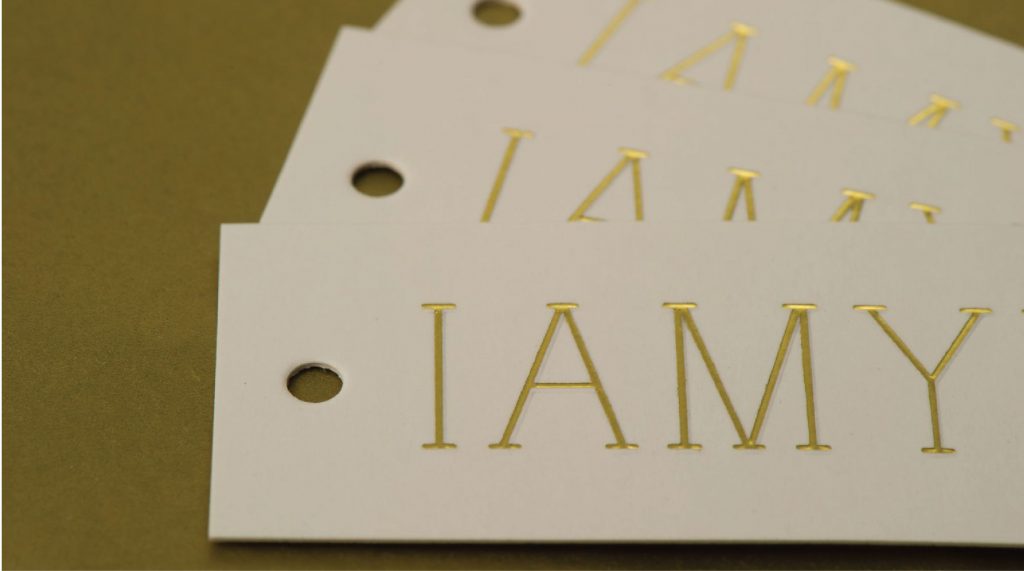
HOLE DRILLING
Hole drilling is often used for tags or for the purpose of collecting the sheets in a binder or folder. The costs are charged per hole. Please indicate the hole position(s) on a separate file in your artwork.
We have a 3mm, 5mm, and 7mm hole drill available for selection.
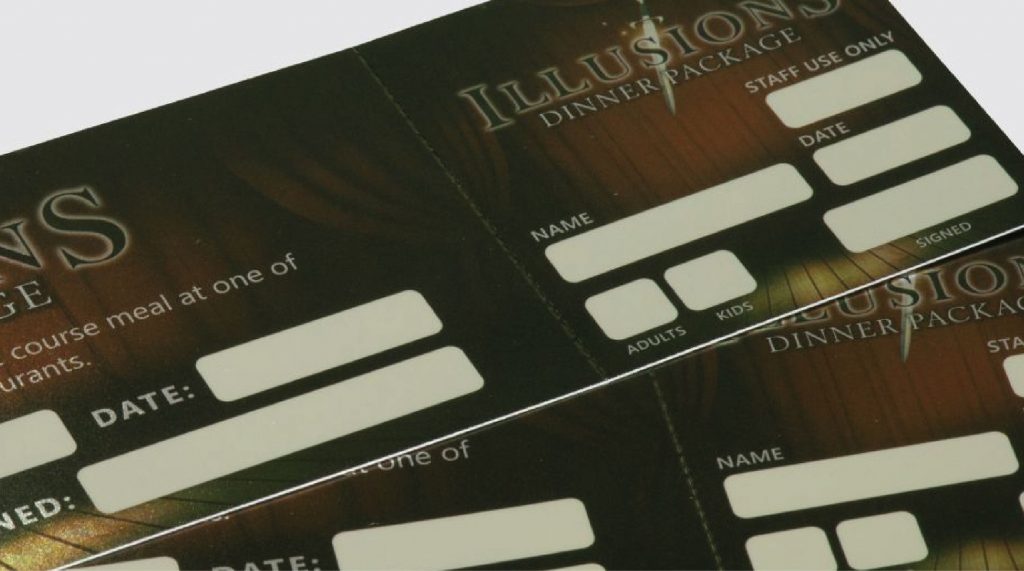
PERFORATION
Perforations are used to allow easy separation of two sections on a sheet of paper, such as allowing paper to be torn easily along the perforated line.
The costs are charged per perforation line, if crossing perforation lines are required, please ask us for a special quote.
Please indicate the perforation line position(s) on a separate file in your artwork.